Imagine having just acquired a new vehicle, brimming with excitement to hit the open road, yet there’s one pesky issue – an unattractive dealer sticker adorning your car’s rear. If you’re pondering the safest way to bid adieu to that bothersome dealer sticker without causing harm to your car’s finish, you’ve found the ideal guide.
Within this comprehensive handbook, we’ll escort you through the steps to securely and effectively eliminate dealer stickers from your car’s exterior.
Evaluating the Dealer Sticker
It’s pivotal to evaluate the dealer sticker. Take note of its dimensions, location, and the type of adhesive utilized. Such insights will be invaluable as you devise your removal strategy.
Essential Tools and Materials
To adeptly eliminate a dealer sticker from your vehicle, compile the following indispensable tools and materials:
- Source of Heat. You’ll require a heat source, like a hairdryer or a heat gun, to gently soften the adhesive, facilitating the sticker’s effortless peeling;
- Razor Blade or Plastic Scraper. A razor blade or a plastic scraper will serve as your trusty assistants in delicately lifting the sticker from the surface;
- Adhesive Remove. An adhesive remover or rubbing alcohol will prove invaluable in erasing any residual stickiness left behind by the sticker;
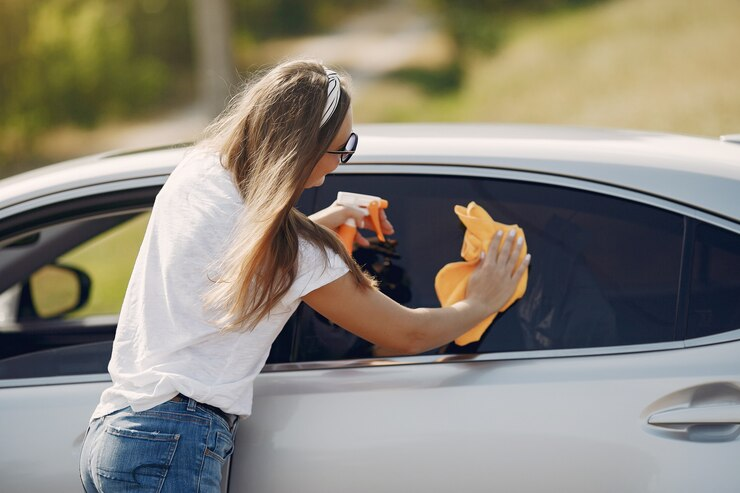
- Microfiber Cloth. For thorough cleaning after sticker removal, a microfiber cloth will be your best companion;
- Car Wax. To restore the sheen and provide protection after the sticker’s removal, car wax is an indispensable companion.
Check in this video how to remove dealer stickers quick and easy
Step-by-Step Instructions: How to Remove a Dealer Sticker from Your Car
- Surface Preparation. Commence the process by thoroughly cleansing the area surrounding the sticker to eliminate dirt and debris. A pristine surface will render the removal procedure considerably smoother;
- Application of Heat. Utilize the heat source to gently warm the dealer sticker for approximately 2-3 minutes. Exercise caution to maintain a safe distance, preventing any paint overheating;
- Gently Peeling Off the Sticker. Carefully raise one corner of the sticker using the razor blade or plastic scraper. Proceed to gently peel it off, applying additional heat if required;
- Residue Removal. Apply an adhesive remover or rubbing alcohol to a clean cloth. Gently rub the cloth over any sticky residue that may linger on the paint;
- Thorough Cleaning and Polishing. Employ a microfiber cloth to meticulously clean the area, ensuring its pristine condition. Following that, apply car wax to safeguard the paint and restore its natural shine.
What’s wrong with your car when it squeals? Explore in this post Car Squeals When Starting Cold: Causes and Solutions
Preventing Any Damage During the Removal Process
To ensure the paint remains unblemished throughout the sticker removal process, exercise care to prevent scratching. Employ a gentle touch and maintain steady control. If uncertain, contemplate seeking professional assistance.
Conclusion
Bid farewell to the dealer sticker on your car with confidence, as its removal doesn’t need to be a daunting endeavor. By diligently adhering to our step-by-step instructions and taking the necessary precautions, you can relish a clean, sticker-free exterior without any harm to your vehicle’s paint.
So, wave goodbye to those unsightly dealer stickers and hit the road in style!