It is imperative to maintain the proper level and functionality of your automobile’s coolant system to ensure the well-being and extended lifespan of your vehicle. This critical system plays a pivotal role in preventing the engine from overheating and safeguarding it against freezing temperatures in colder environments. After you’ve replenished the coolant, it is essential to adhere to essential procedures to guarantee the system’s optimal performance.
Ensuring Optimal Coolant Levels and Quality
Having successfully added coolant to your vehicle, it is imperative to conduct a comprehensive examination to verify the optimal condition of your engine’s cooling system. Presented below is an extensive manual detailing how to execute this task effectively:
Temperature Assessment:
Examination during Cool Engine State: It is of paramount importance to scrutinize the coolant when the engine is at a low temperature. This step is crucial in obtaining a precise measurement of the coolant level.
Level Verification:
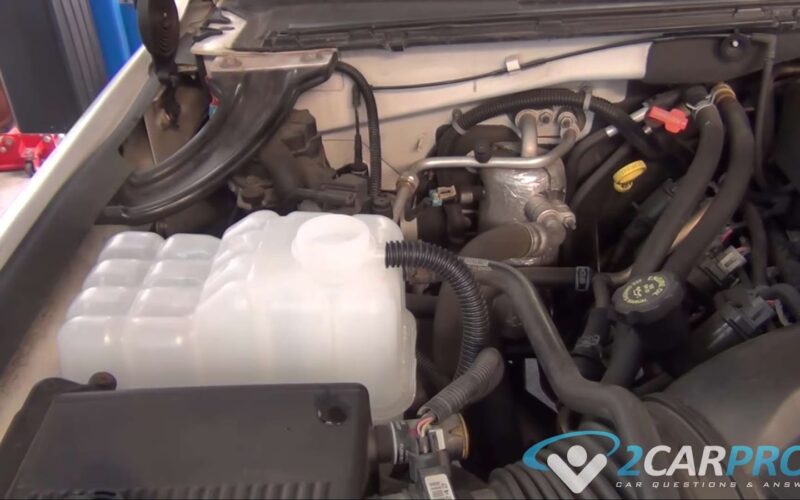
- Examine the Reservoir: Begin by opening the vehicle’s hood and identifying the coolant reservoir, which typically features “Full” or “Max” indicators. It should ideally be maintained at or reach this demarcation.
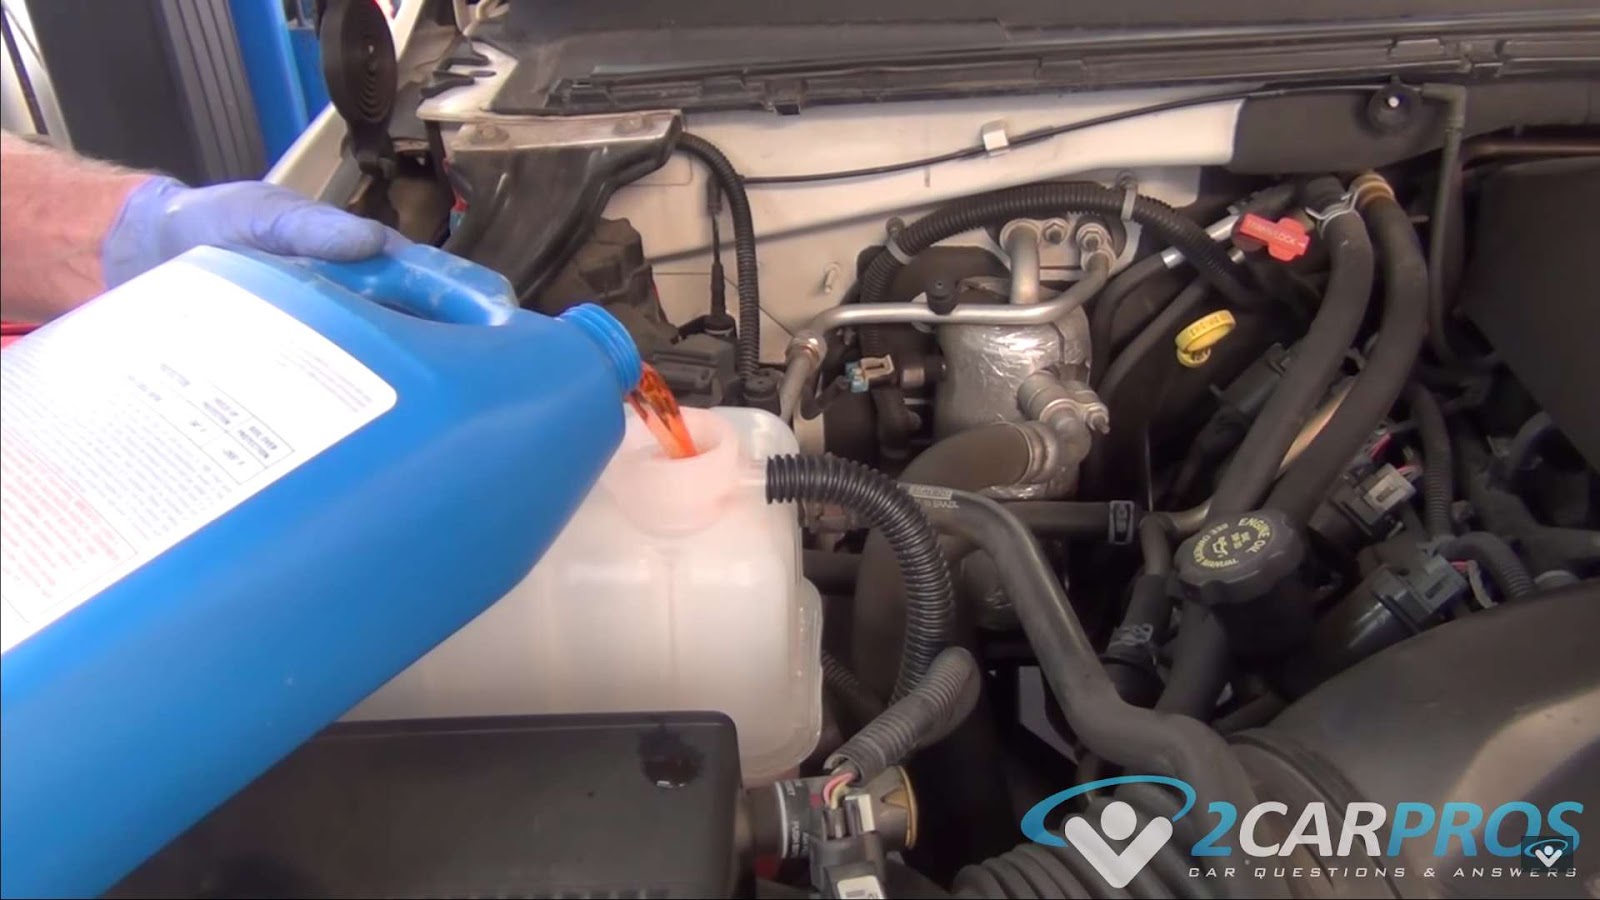
- Replenishment if Required: In the event that the coolant level falls below the recommended threshold, it becomes necessary to refill it with the appropriate coolant mixture. For precise guidance on the specific coolant type and the correct ratio, consult your vehicle’s manual. What to do if you put too much coolant in your car?
Quality Assessment:
- Visual Inspection: Look closely at the coolant. It should be crystal clear and free of any visible debris or contaminants;
- Color Check: Different vehicles use different coolant colors (green, orange, pink, etc.). Ensure the color matches your vehicle’s specifications;
- Consistency Matters: Check for any floating particles or unusual consistency. Ideally, coolant should be smooth and homogeneous.
Flushing Consideration:
Flush if Necessary: If you notice your coolant is dirty, discolored, or has debris, it’s a sign that your cooling system might need a flush. Consider scheduling a coolant flush to maintain your engine’s health.
Ensuring Efficient Coolant Circulation and Removing Air Bubbles
Now that you’ve confirmed the coolant level and quality, it’s time to run your engine efficiently to ensure proper coolant circulation and eliminate any pesky air pockets. Here’s a comprehensive guide to help you with this crucial step:
1. Engine Start-Up:
Cold Start: Begin by starting your vehicle, making sure the engine is cold. This is essential to prevent potential burns and to conduct an accurate assessment.
2. Idle Warm-Up:
Let It Idle: Allow the engine to idle for a few minutes. This period is essential for the coolant to circulate throughout the cooling system, guaranteeing there are no air pockets that can cause overheating.
3. Heater Activation:
Optimize Heat Output: Adjust the car’s heater to its highest setting. This action serves a twofold purpose:
- It aids in the elimination of any lingering air bubbles within the cooling system;
- It affords you the opportunity to verify the proper functioning of the heater. Failure to produce heat may indicate potential issues with the cooling system.
Temperature Surveillance: As the engine idles and the heater operates at maximum capacity, vigilantly monitor your vehicle’s temperature gauge. It should consistently remain within the designated normal operating range. In the event of a sudden spike, promptly shut off the engine and seek immediate professional assistance.
Detecting Potential Leaks
When it comes to ensuring the well-being of your vehicle, checking for leaks is a crucial step. After your engine has been in operation for a while, it’s vital to perform a meticulous inspection to prevent any unexpected issues down the road. Here’s how you can do it:
Engine Shutdown and Safety First
- Safely turn off the engine, allowing it to cool down for a minute or two. Remember that the engine can be scalding hot after use;
- Ensure you’re in a safe location, away from traffic, and the vehicle is securely parked with the handbrake engaged.
Scanning for Coolant Leaks
Take a moment to scrutinize the terrain beneath your vehicle. Keep a keen eye out for any distinctive indications of coolant leaks, like the presence of puddles or discolored patches. Coolant usually exhibits a vivid, nearly neon-like hue.
Delve into a thorough inspection of the vicinity surrounding the hoses, radiator, and coolant reservoir, paying close attention to any hints of dampness or the presence of drips.
Taking Action
- If you spot a coolant leak or any signs of moisture, it’s crucial to address the issue promptly to prevent overheating and potential engine damage;
- Tighten loose hose clamps or connections if necessary;
- If the leak is severe, consider calling for roadside assistance or having the vehicle towed to a repair facility.
Vigilantly Monitor the Temperature Gauge
Your vehicle’s temperature gauge is like a vital health indicator, and keeping a watchful eye on it can save you from costly repairs or breakdowns. Here’s how to effectively monitor and interpret it:
The Dashboard Temperature Gauge
While driving, regularly glance at the temperature gauge located on your vehicle’s dashboard. It provides real-time information about the engine’s operating temperature.
The gauge typically has a range marked as “C” for cold and “H” for hot, with a normal range indicated in between.
What to Watch For
The needle or indicator on the gauge should ideally remain within the normal range. This range is usually denoted by a mid-point or specific temperature value. If the temperature gauge begins to move towards the “H” or the red zone, it’s a sign of a potential issue.
Possible Causes and Solutions
An elevated temperature in your vehicle can stem from various sources, such as the entrapment of air within the cooling system, a malfunctioning thermostat, or even a coolant leakage, among other potential causes.
Should you detect the temperature gauge creeping beyond its usual parameters, here’s a set of prudent steps to follow:
- Exercise caution and steer your vehicle to a secure and safe location;
- Shut off the engine promptly to prevent exacerbating the overheating situation;
- Allow the engine to naturally cool down before embarking on any troubleshooting or considering the addition of coolant;
- If the issue persists, it is highly recommended that you seek the expertise of a professional technician who can expertly diagnose and rectify the underlying problem.
Comprehensive Guide to Coolant Maintenance and Safety Tips
Ensuring the longevity and optimal performance of a vehicle’s cooling system is crucial. Proper care and routine checks can prevent costly damages, enhance efficiency, and safeguard against overheating. Below is a detailed guide on maintaining the cooling system and key precautions to remember.
Selecting the Right Coolant
Vehicles have specific requirements when it comes to coolants. Always refer to the owner’s manual to identify the correct type suited for the particular model.
The importance of using the designated coolant type cannot be stressed enough. The right coolant ensures optimal heat transfer, protects against corrosion, and minimizes the risk of system damage.
On Mixing Different Coolants
It’s crucial to be cautious when blending different coolants. While some might be marketed as compatible, it’s generally safer to avoid such mixtures. Combining incompatible coolants can lead to reduced efficiency, precipitation formation, and even damage to the cooling system.
Securing the Radiator Cap
After inspecting or refilling the coolant, always double-check the radiator cap. This cap plays a pivotal role in maintaining the system’s pressure. An improperly fastened cap might result in pressure loss, which could cause the coolant to boil over, leading to potential overheating and other damages.
Regular Check-ups and System Flushes
- Just like any other vehicle fluid, coolants can deteriorate over time. Its protective qualities can diminish, making the system susceptible to corrosion and inefficiency;
- Implementing a routine;
- Set periodic reminders to inspect the coolant level and its condition. This proactive approach can help detect potential issues early on;
- Schedule regular system flushes every couple of years or as recommended in the owner’s manual. A flush rejuvenates the system by removing contaminants and replacing the old coolant with a fresh batch;
- Look out for signs of coolant degradation, such as discoloration or a rusty odor. These can indicate it’s time for a replacement.
By giving attention to the details of coolant maintenance and following these comprehensive guidelines, one can ensure a longer lifespan and smoother operation of the vehicle’s cooling system. Prevention is always better (and more cost-effective) than cure.
Conclusion
Ensuring the optimal coolant level and preserving its quality stands as a vital prerequisite for the well-being of your automobile’s engine. Whether you’re replenishing or replacing it, adhering to these instructions will greatly contribute to enhancing the durability and overall performance of your vehicle.